
Creating faux wall panels using wash tape is an easy and in-expensive way to inject colour and pattern to a blank wall. With an extensive variety of designs and colours available to buy, the possibilities are endless. And when you fancy changing it up , you can simply peel the tape off without leaving any damage to your wall, making it the perfect decorating tool for renters!
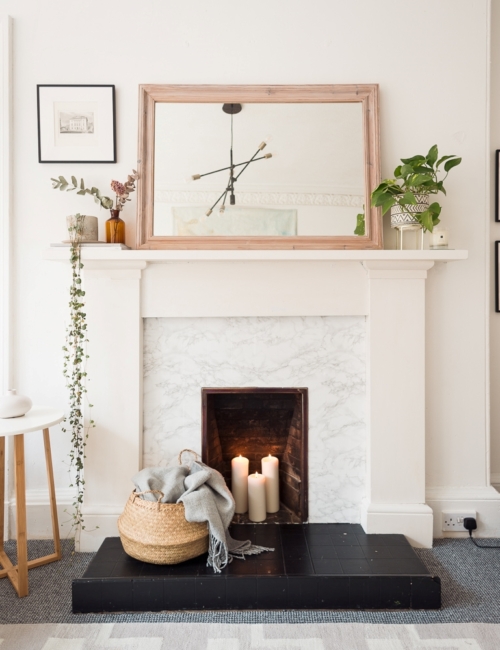
In this tutorial I’m going to show you one of my favourite washi tape ideas – and that is, how to create an Art Deco style faux paneling. I’ll also share a couple of useful DIY hacks and tips that will make it a super quick project with instant results. This is my living room wall before the faux panels

MATERIALS NEEDED :
This post contains affiliate links for your convenience. If you buy from one of our links, we may earn a small commission.
- Washi tape
- Ruler
- Knife
- Thick masking/painters tape
- Pencil
- Step ladder
- Spirit Level (optional)


HOW TO CREATE DECORATIVE FAUX WALL PANELS
1.Your faux paneling design will depend on the size and shape of your wall, so if you’re stuck for ideas, there are plenty of inspiration on pinterest. Once you’ve chosen your design, ensure you have enough washi tape, by measuring the area of the wall you’re covering. If you are doubling up your lines, make sure you have doubled your amount of washi tape.
2.As you’re applying the tape by hand, you’ll want to ensure the lines are as straight and as consistent as possible, so for the best results you can either use a ruler and spirit level to mark out your panels, or, you can use masking tape. Masking tape is my preferred method as it means you can skip all the measuring and marking but still achieve the same even result.

3.Apply a border of masking tape around your wall, ensuring that the tape sits flush to all the sides. If they don’t, your tape won’t be straight and your panel will look wonky. The border will determine how big the space is between the perimeter of your wall and your first panel of washi tape, so if you wanted a bigger space, apply more masking tape borders until you’re satisfied with the spacing.
4. Once you’ve created your masking tape border you can begin to apply your first washi tape panel by butting up your coloured tape to the edge of the masking tape. Try sticking 50 cm pieces on at a time to avoid the tape sticking on an angle, run your finger gently down the surface of the washi tape onto the wall with one hand while holding it in line to the masking tape edge with the other.


5.Once you have done all 4 sides, using a craft knife and a ruler, slice any excess edges that might be left. Use a ruler to ensure you’re slicing the corners at the same angle as the rest of the length of washi tape and not going off at an angle.
6.Repeat stages 3,4 & 5 again, butting your next masking tape border up to your first washi tape panel, be sure not to overlap the masking tape on the washi tape, as it would end up peeling off when you’re finally remove your masking tape.

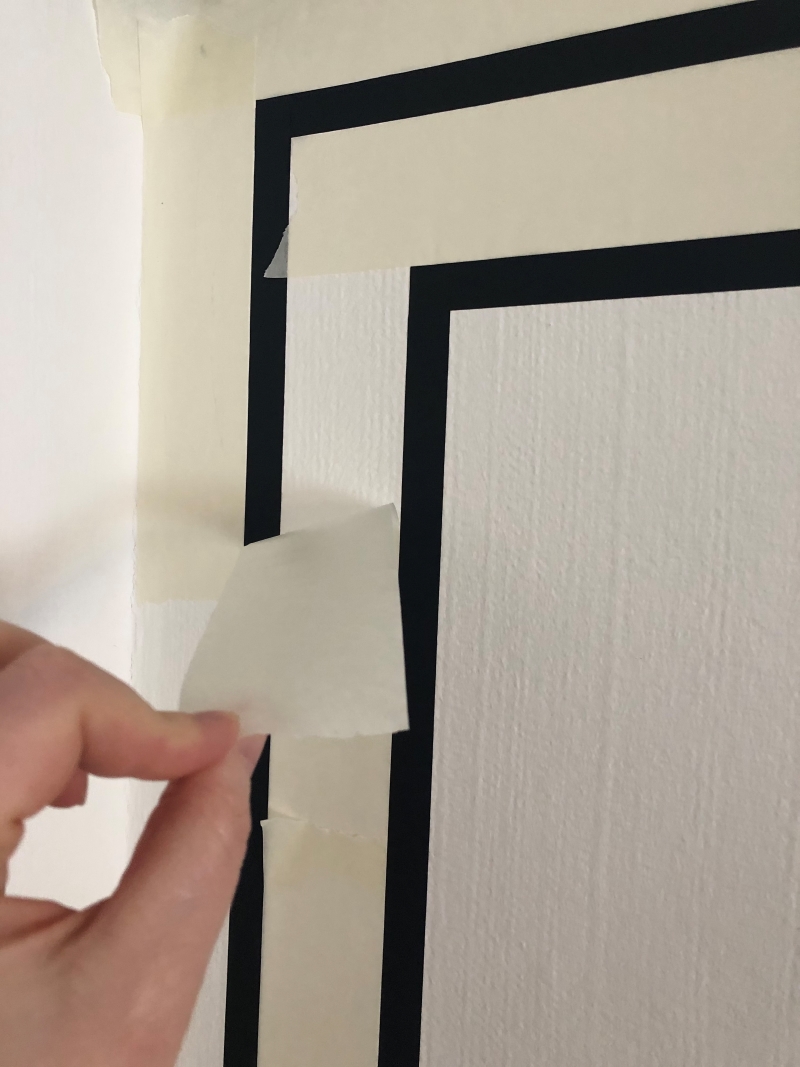
7.To create the inverted corners, I like to cut them the same distance that’s between my two washi tape panels, which is the width of the masking tape, roughly 5cm. With a pencil lightly mark out 5cm from each corner down each side of the tape.
8. Using a craft knife and ruler, slice where you have measured, ensuring your ruler is level with the length of washi tape you’re cutting, or you can use a spirit level instead of a ruler.

9.Once you have sliced each corner, peel the ‘L’ shape of washi tape off, and turn it 180 degrees so it becomes an inverted corner. Re applying this can be a little fiddly as your want to get it so its fits flush and straight to the rest of the panel, so you could stick the piece of tape to a craft knife to help you guide it into place without it sticking to the wall in the wrong place.

- Before removing the masking tape run your fingers across all the washi tape to ensure all the pieces are adhered completely to the wall
- All that’s left to do now is to peel off your masking tape, it’ll be really tempting to tear it all off in one go, however you’re best off peeling each piece off one by one in case there’s any overlapping of washi tape.


A fairly simple design like this shouldn’t take anymore than half an hour, but you could get really creative with it by using different coloured tape and creating more intricate designs. This faux decorative wall panel idea is a fantastic and hassle free way to add detail to your walls and ideal for rooms that may lack character, oh and its damage free too, perfect for renters.
Thanks for reading!
You can follow my blog here. I’m on Instagram too
Maisie
We love when you share! Click the image below to save this post to Pinterest! You can follow HOW I RENT on Pinterest here.

You might also like

CLEVER WAYS TO USE CONTACT PAPER

Leave a Reply